DIY metal headboard
The next step is to make the shelves. You can use a power saw to cut the wood, and then use a power saw to cut the plywood. You can make the shelves by cutting the wood to the correct size, and then use a power saw to carefully cut the wood. After cutting the plywood, you can make the shelves out of a larger piece of plywood. This will help you save money and create a unique headboard.
First, you need to choose the fabric for the headboard. You can use a canvas material or upholstery weight fabric. After choosing the fabric, you need to put quilt batting in the bottom. Then, you need to attach the fabric over the foam. After that, you can attach the top and sides of the headboard with liquid nails. Then, you can attach the back using glue. You can also make the sides and tops of the headboard.
After cutting the wood, you can use a Kreg jig to cut the 1×4 and 1×2 pieces. Both of these pieces should have pockets. Then, use a screwdriver to screw the frame together. Once the pieces are attached, fill the holes with wood filler. Afterward, you can paint the headboard the way you want it. Once the wood is covered with the leather, you can attach the legs.
Diy metal headboard. This is a great DIY project for creating a unique and attractive headboard for your bedroom. It is not just beautiful but also very functional.
You can also make a headboard out of metal for a much more affordable price than you may think. DIY metal headboards are easy to make and are available at most hardware stores. Moreover, you can customize them according to your tastes. Listed below are a few tips to make your own diy metal headboard. Follow these tips to make your new headboard look perfect. You can also buy a ready-made metal headboard if you want.
[caption id="attachment_17687" align="alignnone" width="870"] image source : pixels.com[/caption]
Find the Idea of your DIY metal headboard
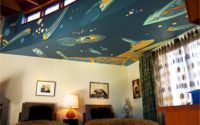
Before you start building your DIY metal headboard, you should have an idea of how to construct a mantelpiece headboard. It is made from a mantelpiece that is normally destined for a fireplace. This makes it look rustic and worn. Another good DIY metal headboard is the Mandal headboard. It is an Ikea product that has shelves for decorative items and books. This DIY metal headboard has a beautiful, vintage silhouette that can be used as a headboard.
[caption id="attachment_17688" align="alignnone" width="950"] image source : pixels.com[/caption]
Before you get started, you should take a look at the plans. They will help you re-create them if you don't have the necessary experience. Beginners may be intimidated by the idea of following a plan but it is not impossible to re-create these pieces. You can also make them yourself using a template if you have the required materials. Once you have the basic knowledge of how to make a metal headboard, you can start building it yourself.
Choosing a desin to your DIY metal headboard
Choosing a design that will make a headboard out of metal is also important. The style of the DIY metal headboard will be a key feature. You should avoid choosing the one that is too complicated. You should try to find a plan that is simple but will add a certain charm to your room. If you're not sure about the style, you can always use a template or download it from online sources. If you can't find one that you like, then go ahead and build one yourself!
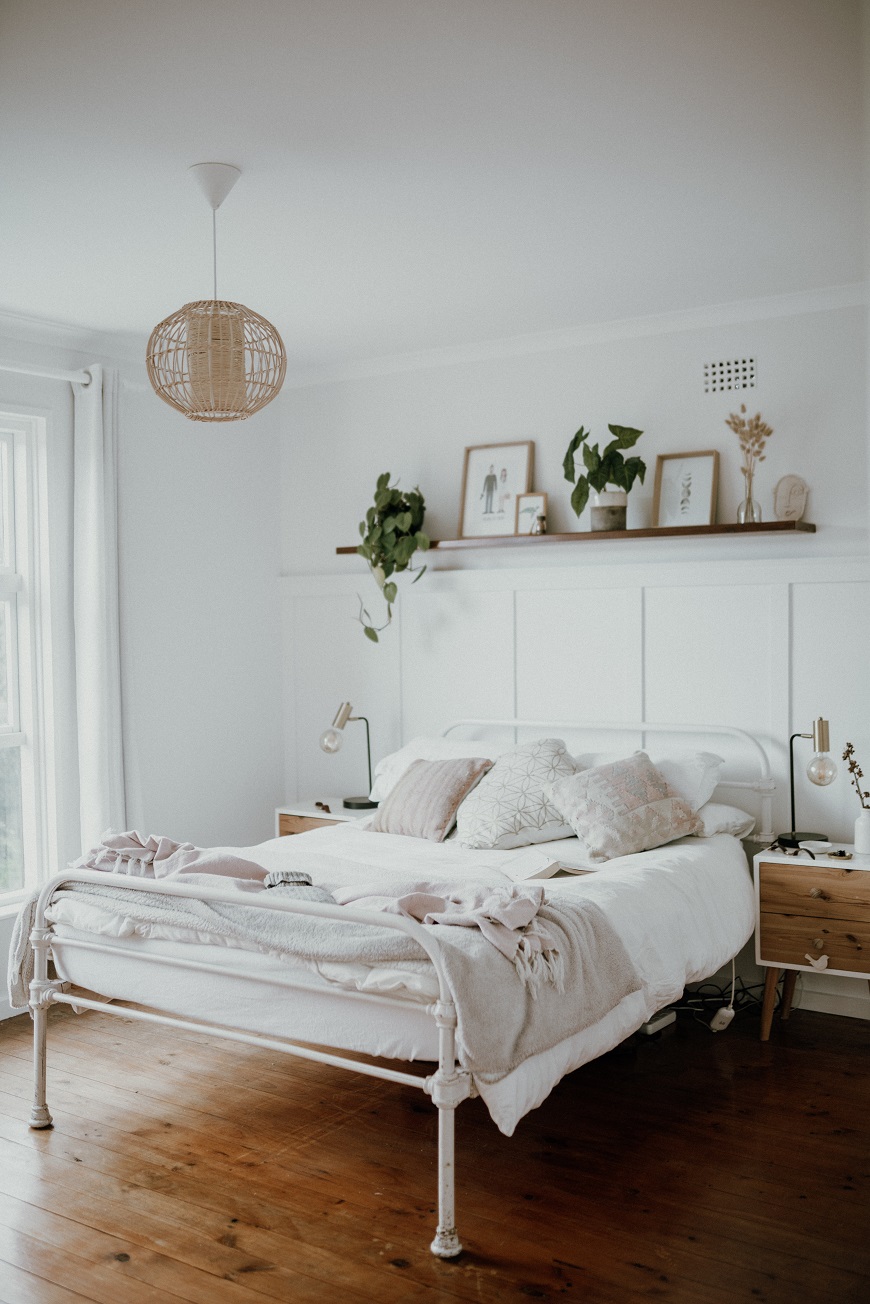
[caption id="attachment_17689" align="alignnone" width="860"] image source : pixels.com[/caption]
Next, you should make the shelves for the headboard. You can make them out of plywood. You can use a power saw to cut the plywood and make holes for the screws. Then, you can add shelves to the headboard with structural wood screws. After you have placed the shelves, you should nail them to the walls. This will allow you to hang the headboard in your bed without a problem. If you want a headboard made out of metal, you can buy a metal one from your local hardware store.
The Benefit of DIY metal headboard
The DIY Metal headboard has many benefits. It is sturdy and it can absorb magnets. It is a good option for a headboard for a kid's room. The headboard can also be used for a child's room. Just make sure to place the shelves at the height of the bed. Then, you can attach the shelves. After stapling the bottom and sides of the headboard, it is time to install the foam.
[caption id="attachment_17690" align="alignnone" width="870"] image source : pixels.com[/caption]
The next step is to make the shelves. You can use a power saw to cut the wood, and then use a power saw to cut the plywood. You can make the shelves by cutting the wood to the correct size, and then use a power saw to carefully cut the wood. After cutting the plywood, you can make the shelves out of a larger piece of plywood. This will help you save money and create a unique headboard.
First, you need to choose the fabric for the headboard. You can use a canvas material or upholstery weight fabric. After choosing the fabric, you need to put quilt batting in the bottom. Then, you need to attach the fabric over the foam. After that, you can attach the top and sides of the headboard with liquid nails. Then, you can attach the back using glue. You can also make the sides and tops of the headboard.
After cutting the wood, you can use a Kreg jig to cut the 1x4 and 1x2 pieces. Both of these pieces should have pockets. Then, use a screwdriver to screw the frame together. Once the pieces are attached, fill the holes with wood filler. Afterward, you can paint the headboard the way you want it. Once the wood is covered with the leather, you can attach the legs.
Diy metal headboard. This is a great DIY project for creating a unique and attractive headboard for your bedroom. It is not just beautiful but also very functional.
DIY Tiki torch stand

Geometric canvas art diy – Give unique style to match your decor